SwiftUIのプレビューの使い方
2021年03月09日

SwiftUIのプレビュー機能は様々な使い方ができ、色々な場面を想定してカスタマイズした表示を行う事が出来ます。
Xcodeでプレビューを表示する
以下の2通りでプレビューを表示出来ます
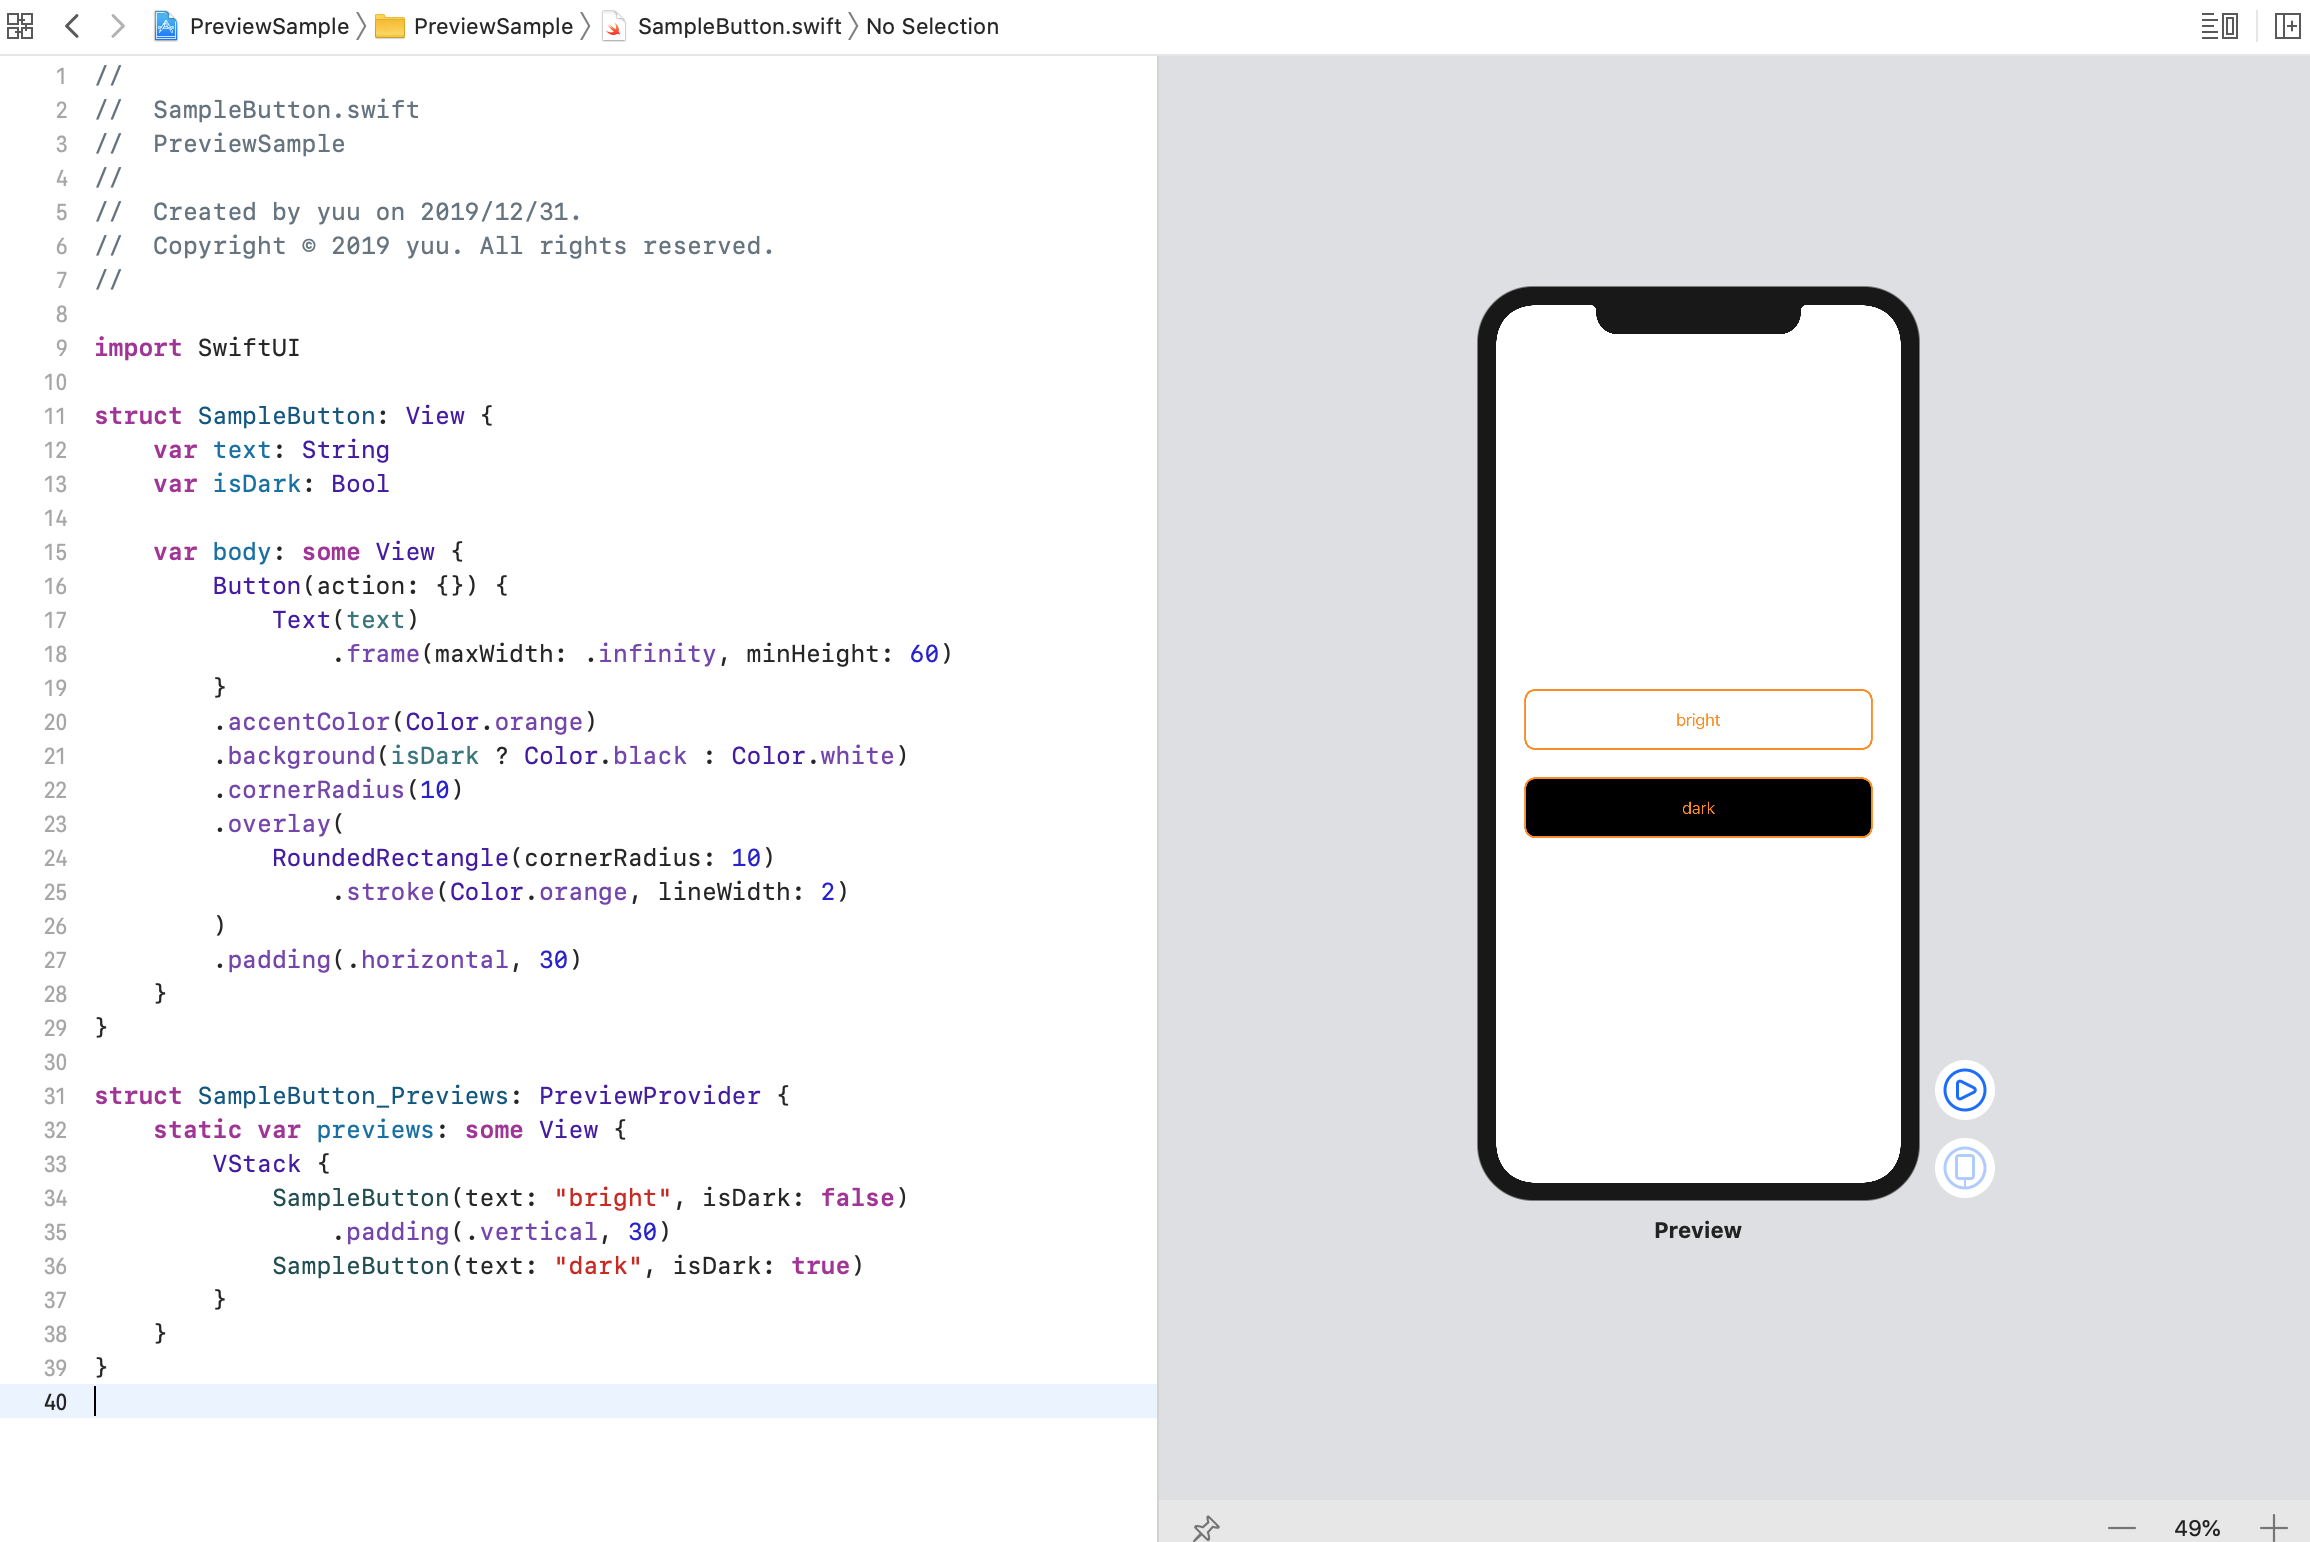
- Xcodeのコードエディタ画面右上のメニューから Canvas を選択
- command + option + Enter
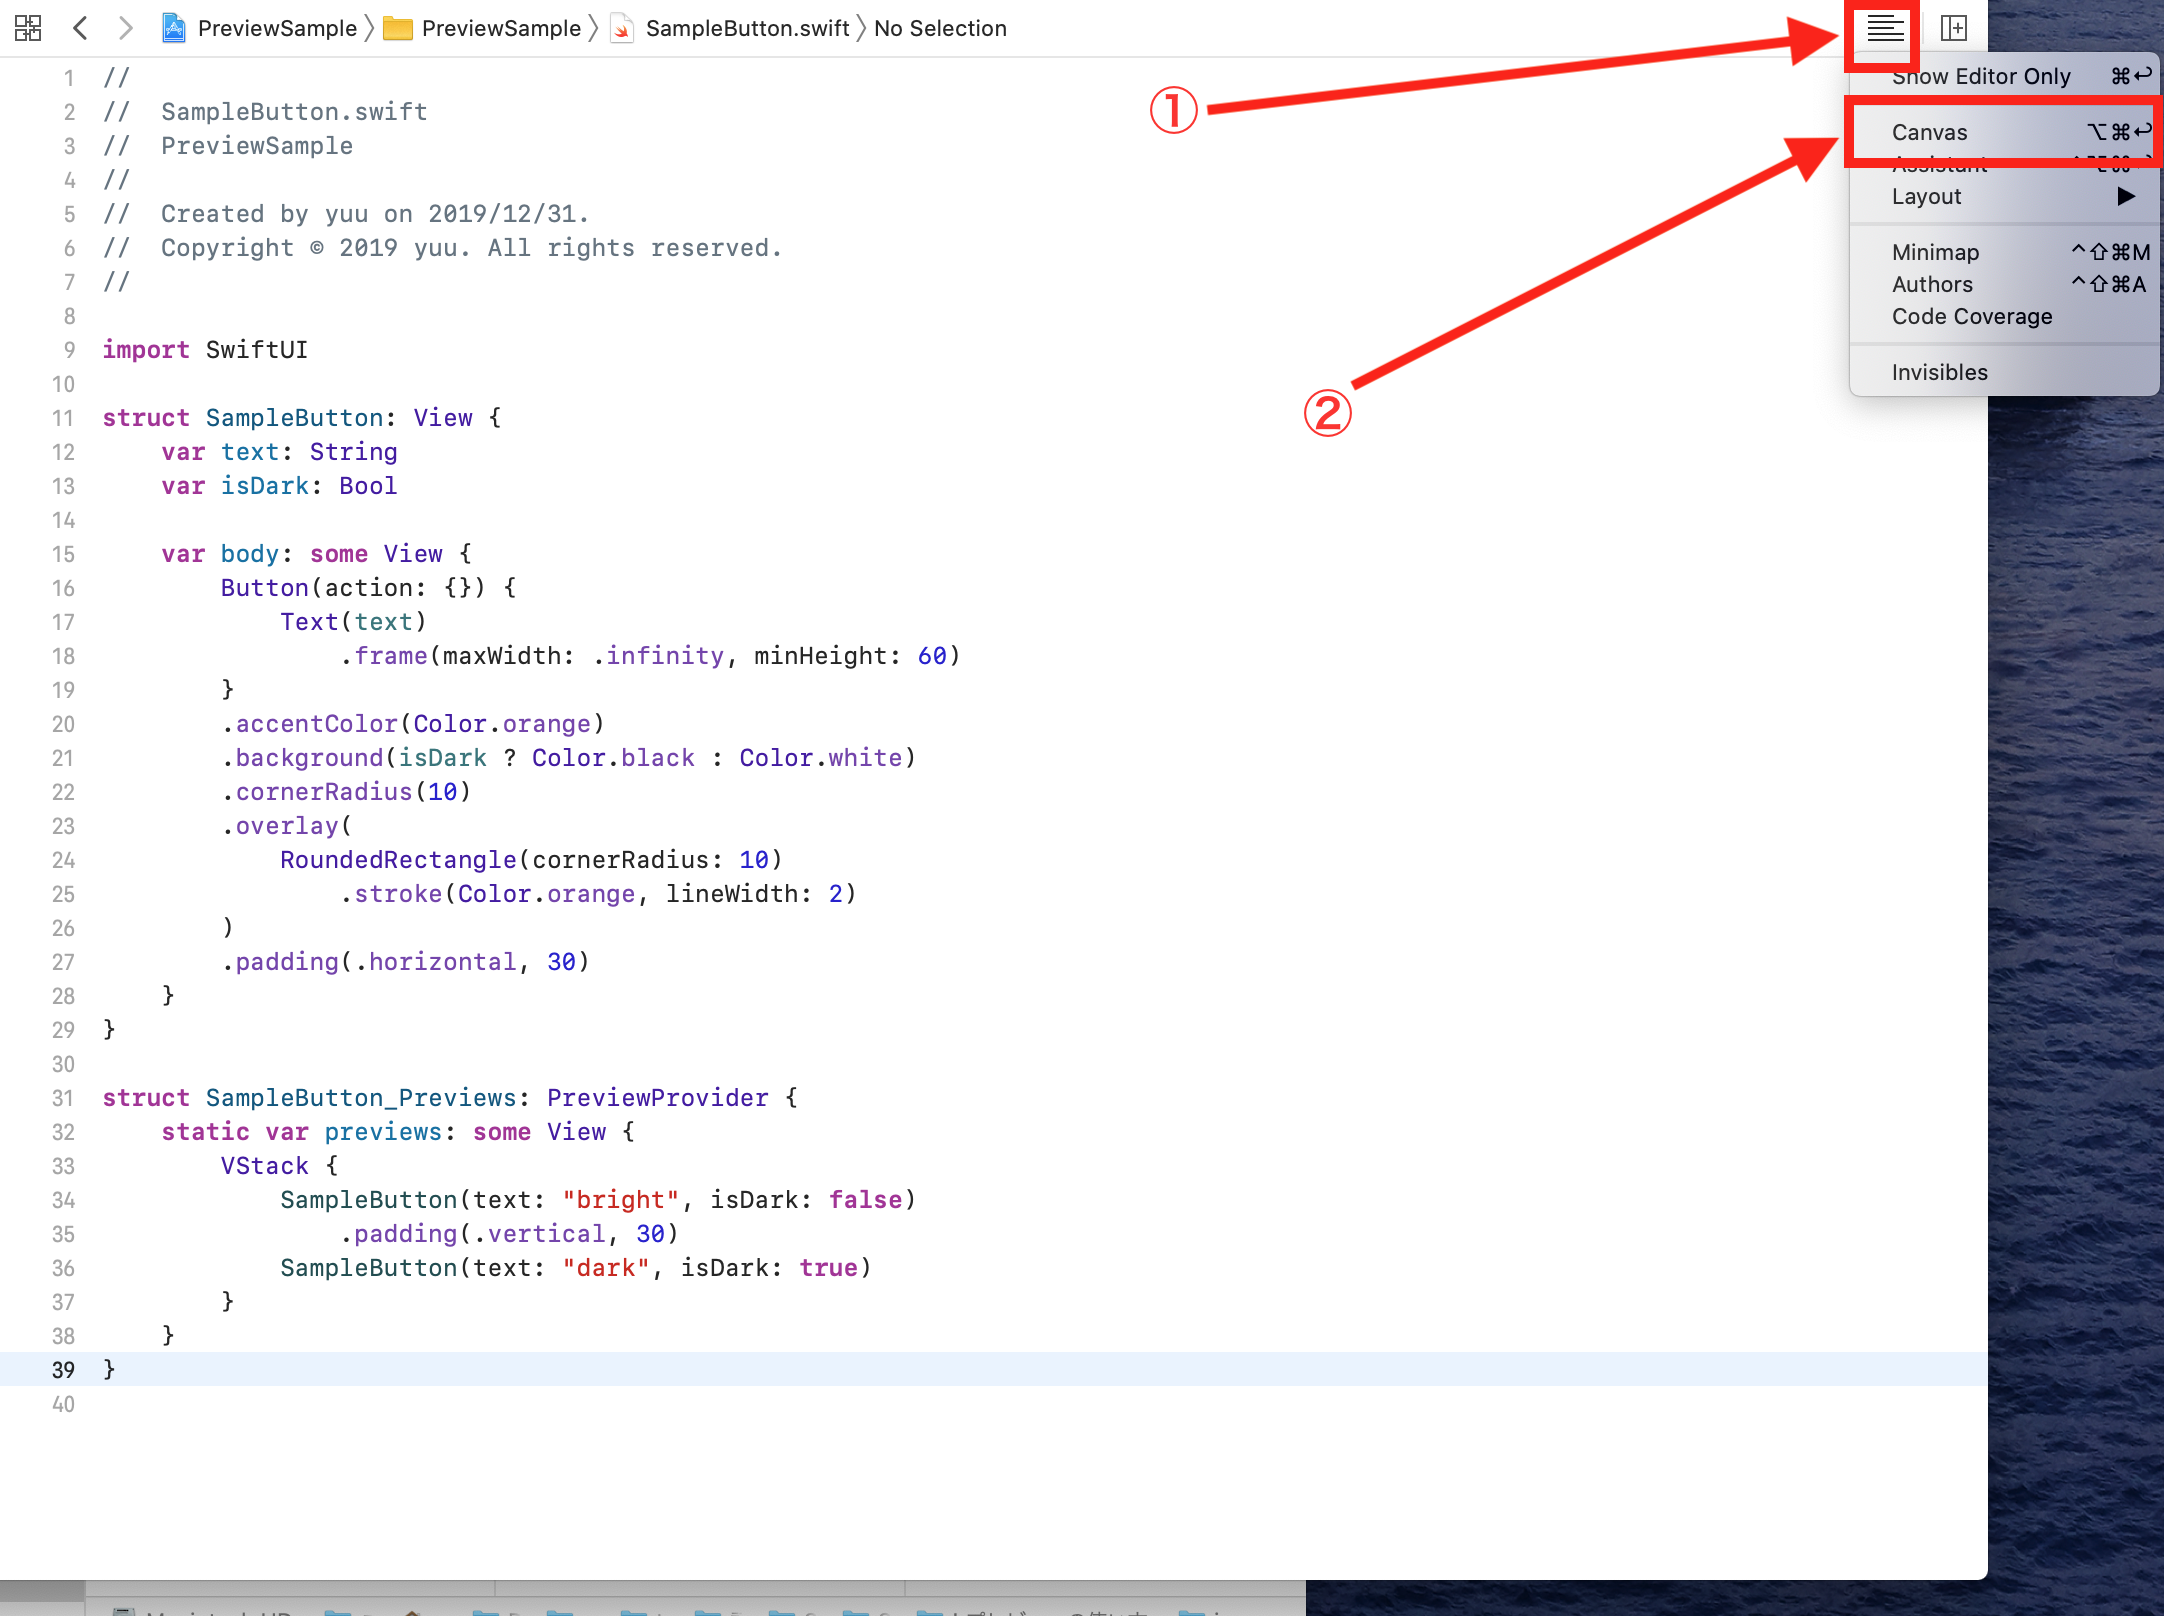
すると以下のように画面が分割されてプレビューが表示されます
プレビューの様々な使い方
プレビューを試すうえで ↓ のようなコンポーネントを使用します
struct SampleButton: View {
    var text: String
    var isDark: Bool
    var width: CGFloat = .infinity
    var height: CGFloat = 60

    var body: some View {
        Button(action: {}) {
            Text(text)
                .frame(maxWidth: width, minHeight: height)
        }
        .accentColor(Color.orange)
        .background(isDark ? Color.black : Color.white)
        .cornerRadius(10)
        .overlay(
            RoundedRectangle(cornerRadius: 10)
                .stroke(Color.orange, lineWidth: 2)
        )
        .padding(.horizontal, 30)
    }
}

// 使う時
SampleButton(text: "bright", isDark: false)
SampleButton(text: "dark", isDark: true)
SampleButton(text: "bright", isDark: false, width: 200, height: 40)
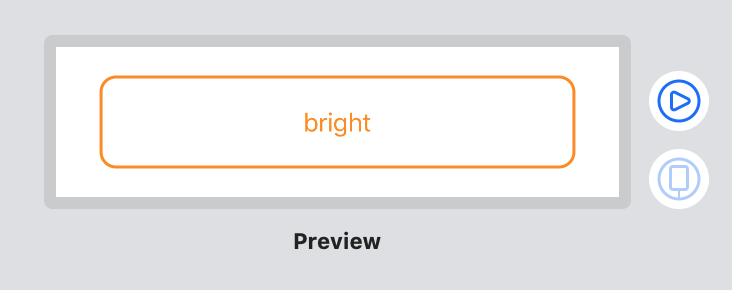
プレビューのサイズを指定
.previewLayout() に .fixed(width: 375, height: 100) のように指定します
struct SampleButton_Previews: PreviewProvider {
    static var previews: some View {
        SampleButton(text: "bright", isDark: false)
            .previewLayout(.fixed(width: 375, height: 100))
    }
}
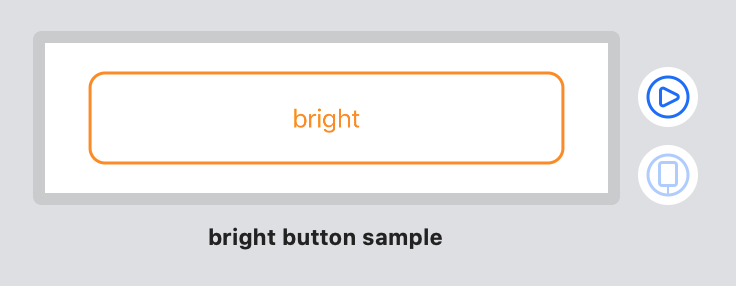
プレビューの名前を変更
.previewDisplayName("preview name") のように指定します
struct SampleButton_Previews: PreviewProvider {
    static var previews: some View {
        SampleButton(text: "bright", isDark: false)
            .previewLayout(.fixed(width: 375, height: 100))
            .previewDisplayName("bright button sample")
    }
}
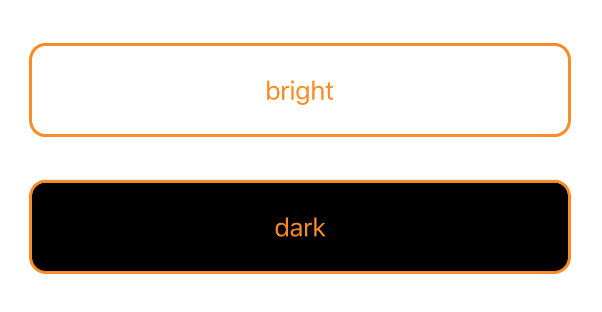
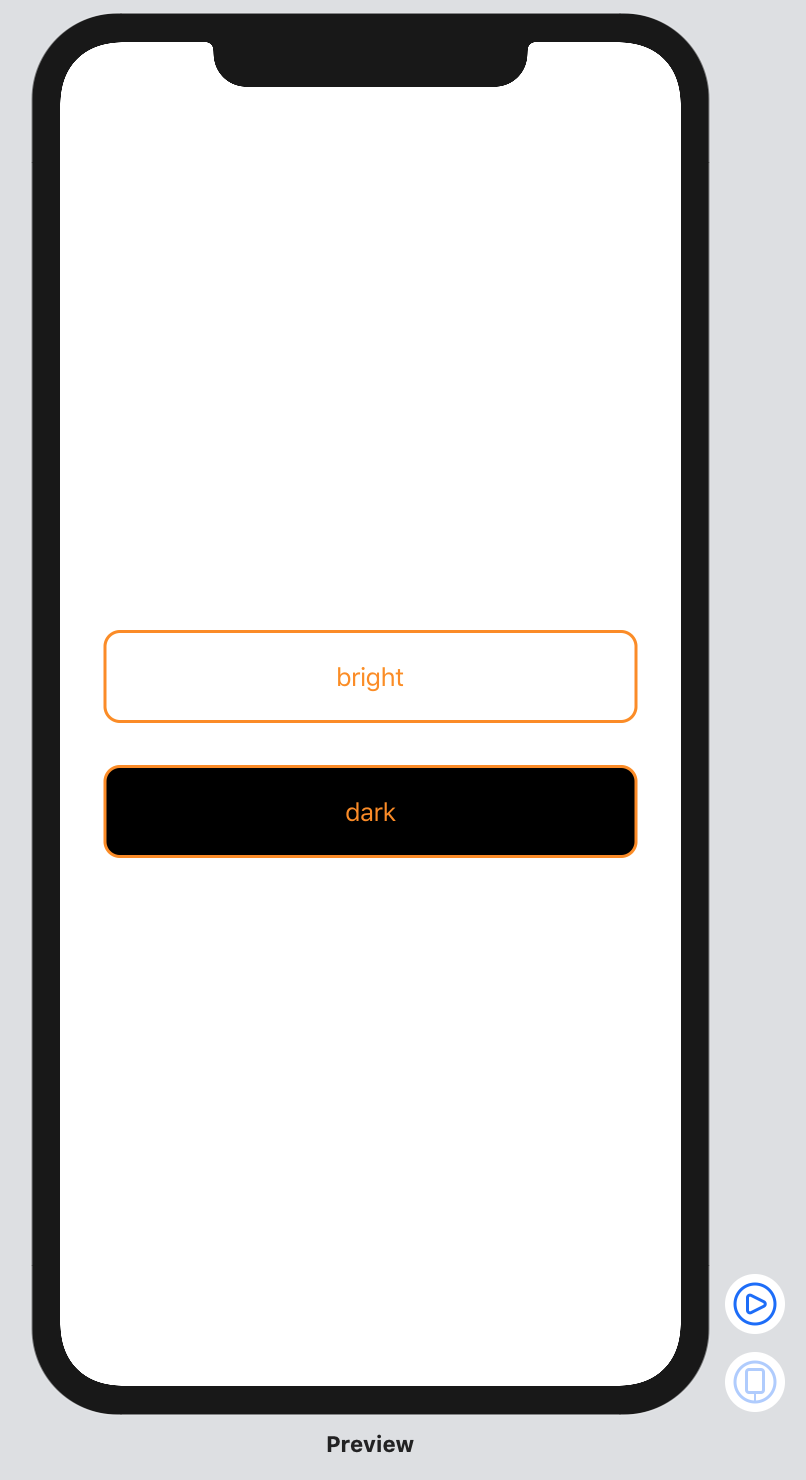
一つのプレビューに複数のViewを配置する
VStack や HStack を使って表示する事で1つのプレビュー内にコンポーネントを複数配置します。
この時 .padding() や .frame() などを合わせて指定する事も出来ます。
struct SampleButton_Previews: PreviewProvider {
    static var previews: some View {
        VStack {
            SampleButton(text: "bright", isDark: false)
                .padding(.vertical, 30)
            SampleButton(text: "dark", isDark: true)
        }
    }
}
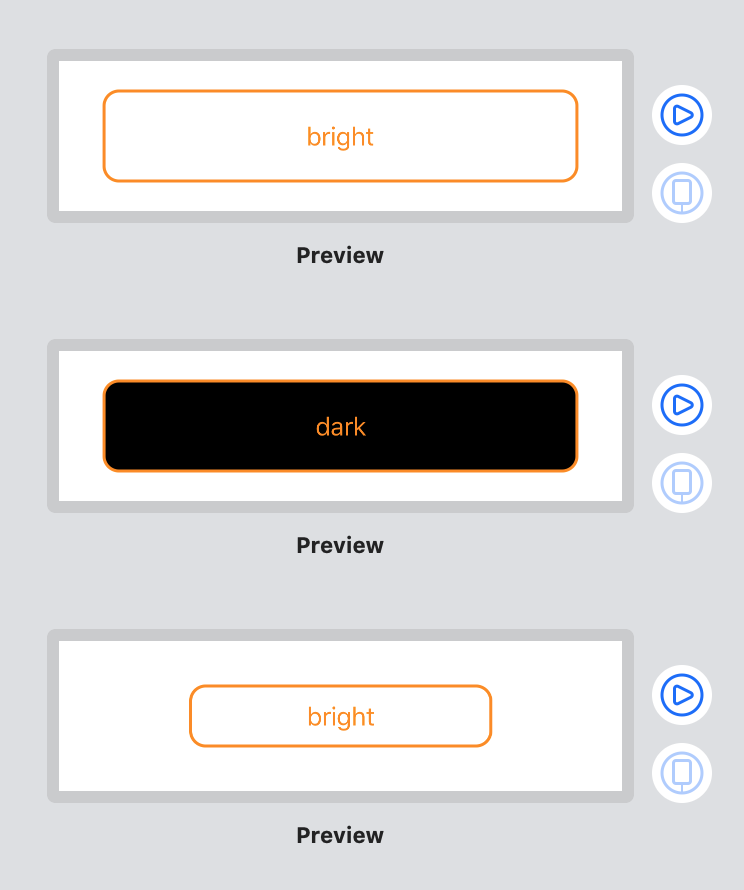
複数のプレビューを表示する
Group や ForEach を使用して表示します
struct SampleButton_Previews: PreviewProvider {
    static var previews: some View {
        Group {
            SampleButton(text: "bright", isDark: false)
                .previewLayout(.fixed(width: 375, height: 100))
            SampleButton(text: "dark", isDark: true)
                .previewLayout(.fixed(width: 375, height: 100))
            SampleButton(text: "bright", isDark: false, width: 200, height: 40)
                .previewLayout(.fixed(width: 375, height: 100))
        }
    }
}
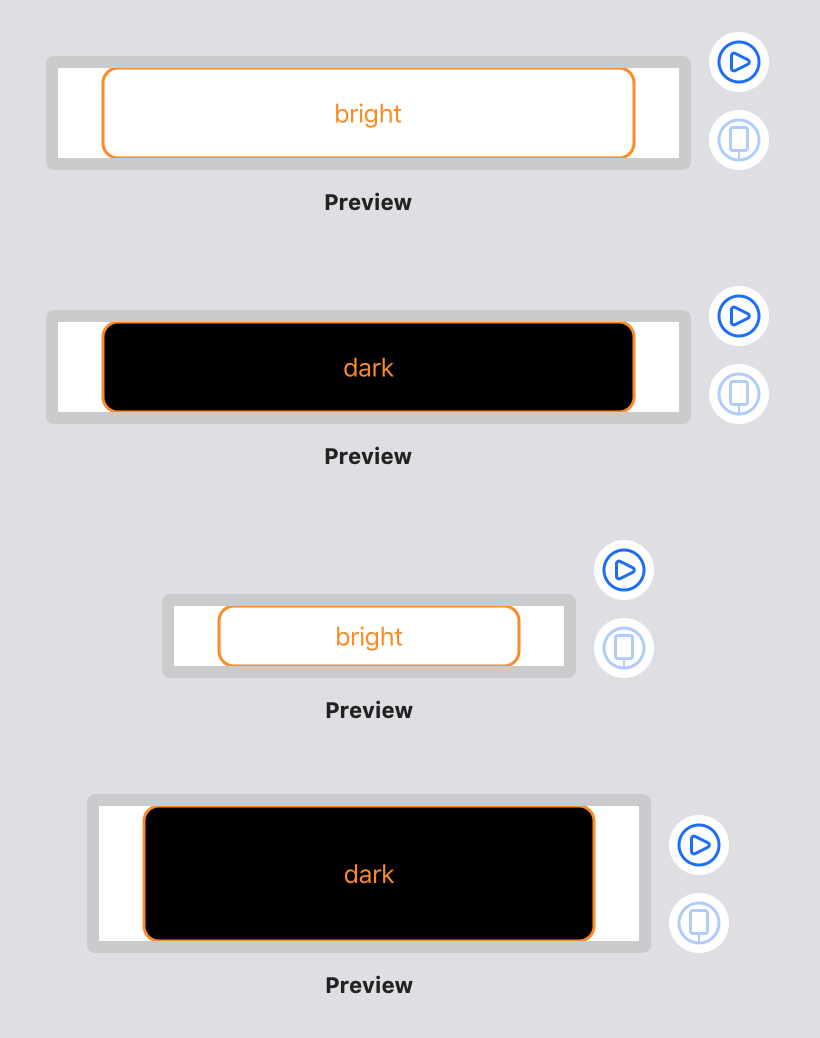
使用するViewのサイズに合わせる
struct SampleButton_Previews: PreviewProvider {
    static var previews: some View {
        Group {
            SampleButton(text: "bright", isDark: false)
                .previewLayout(.sizeThatFits)
            SampleButton(text: "dark", isDark: true)
                .previewLayout(.sizeThatFits)
            SampleButton(text: "bright", isDark: false, width: 200, height: 40)
                .previewLayout(.sizeThatFits)
            SampleButton(text: "dark", isDark: true, width: 300, height: 90)
                .previewLayout(.sizeThatFits)
        }
    }
}
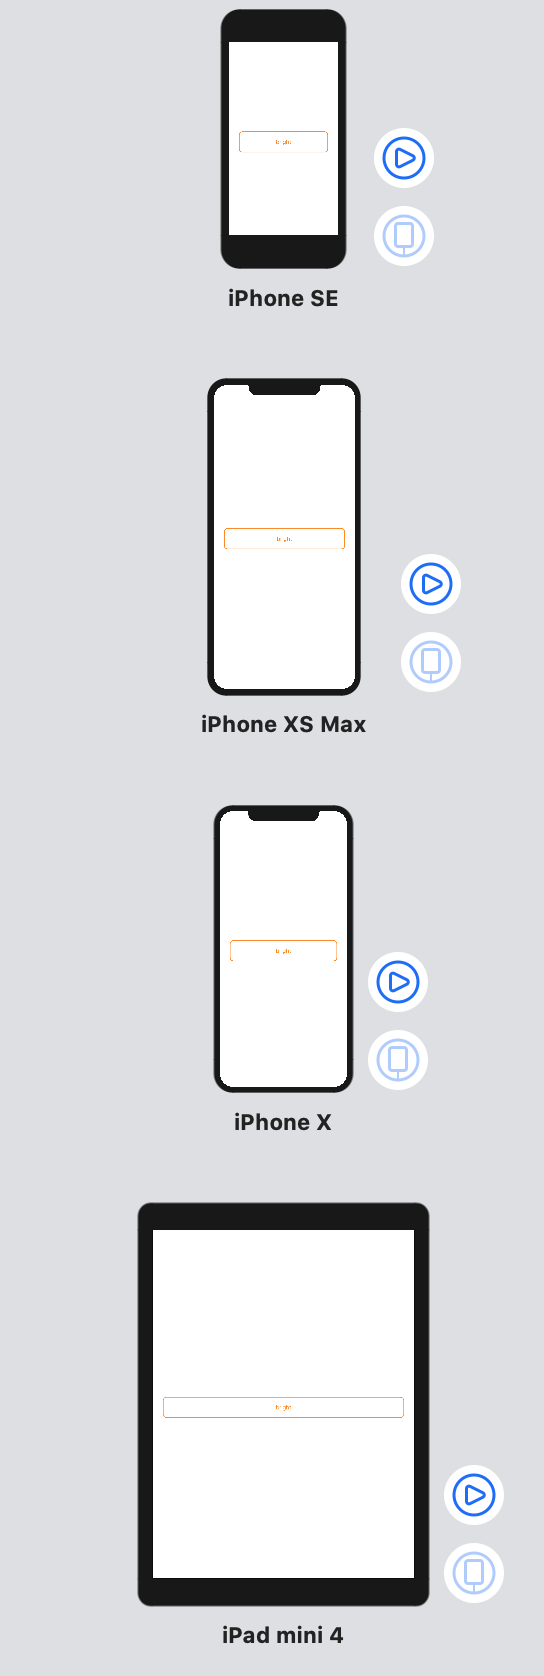
端末名を指定
struct SampleButton_Previews: PreviewProvider {
    static var previews: some View {
        ForEach(["iPhone SE", "iPhone XS Max", "iPhone X", "iPad mini 4"], id: \.self) { deviceName in
            SampleButton(text: "bright", isDark: false)
                .previewDevice(PreviewDevice(rawValue: deviceName))
                .previewDisplayName(deviceName)
        }
    }
}
もし指定した端末が存在しない場合はXcodeのデフォルトで設定している端末で表示が行われます
If you set the preview device to nil, as it is by default, Xcode automatically chooses an appropriate device based on your target.
previewDevice(_:) - View | Apple Developer Documentationより引用
使用出来る端末名は以下のページに乗っています。
previewDevice(_:) - View | Apple Developer Documentation
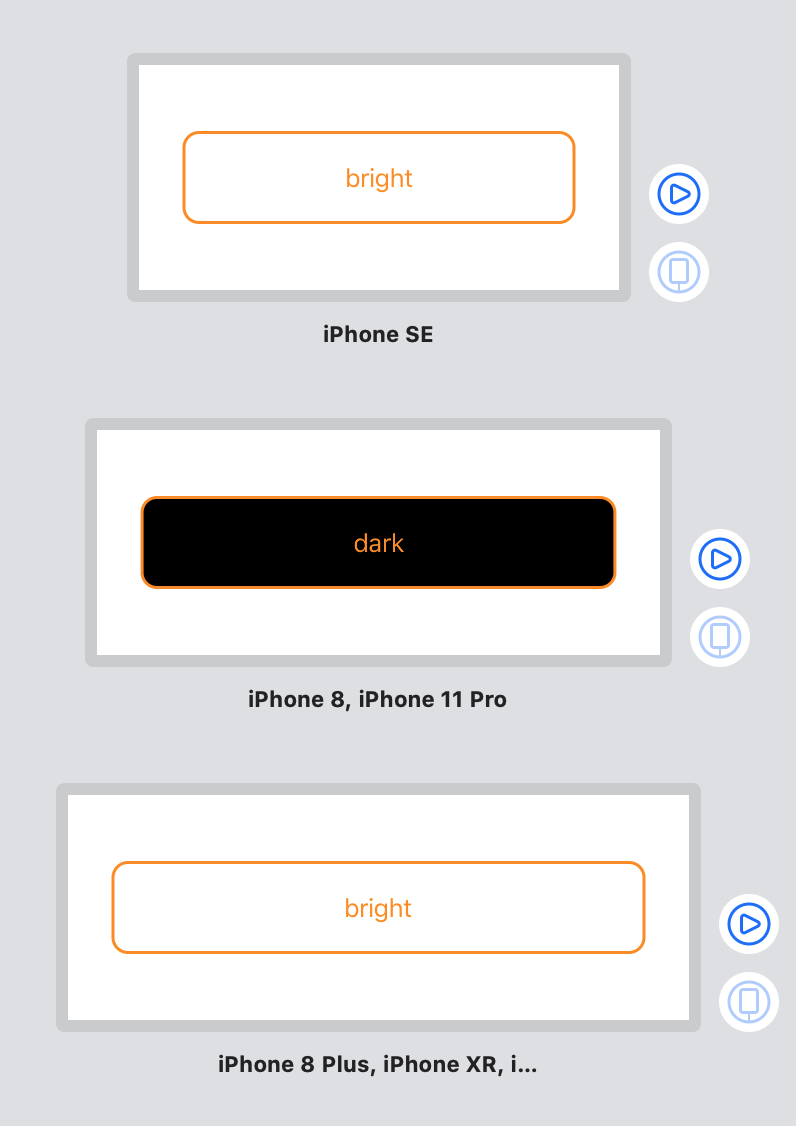
複数端末指定 + 高さ指定
static を使う事で static var previews: some View 内でも変数を使用出来ます
私はそれぞれの端末サイズで確認したいけど端末ほどの高さが必要ない場合に以下のようなプレビューを使用しています
struct SampleButton_Previews: PreviewProvider {
    static let height: CGFloat = 150
    static var previews: some View {
        Group {
            SampleButton(text: "bright", isDark: false)
                .previewLayout(.fixed(width: 320, height: height))
                .previewDisplayName("iPhone SE")
            SampleButton(text: "dark", isDark: true)
                .previewLayout(.fixed(width: 375, height: height))
                .previewDisplayName("iPhone 8, iPhone 11 Pro")
            SampleButton(text: "bright", isDark: false)
                .previewLayout(.fixed(width: 414, height: height))
                .previewDisplayName("iPhone 8 Plus, iPhone XR, iPhone 11 Pro Max")
        }
    }
}