Listを使った一覧表示
2021年03月09日

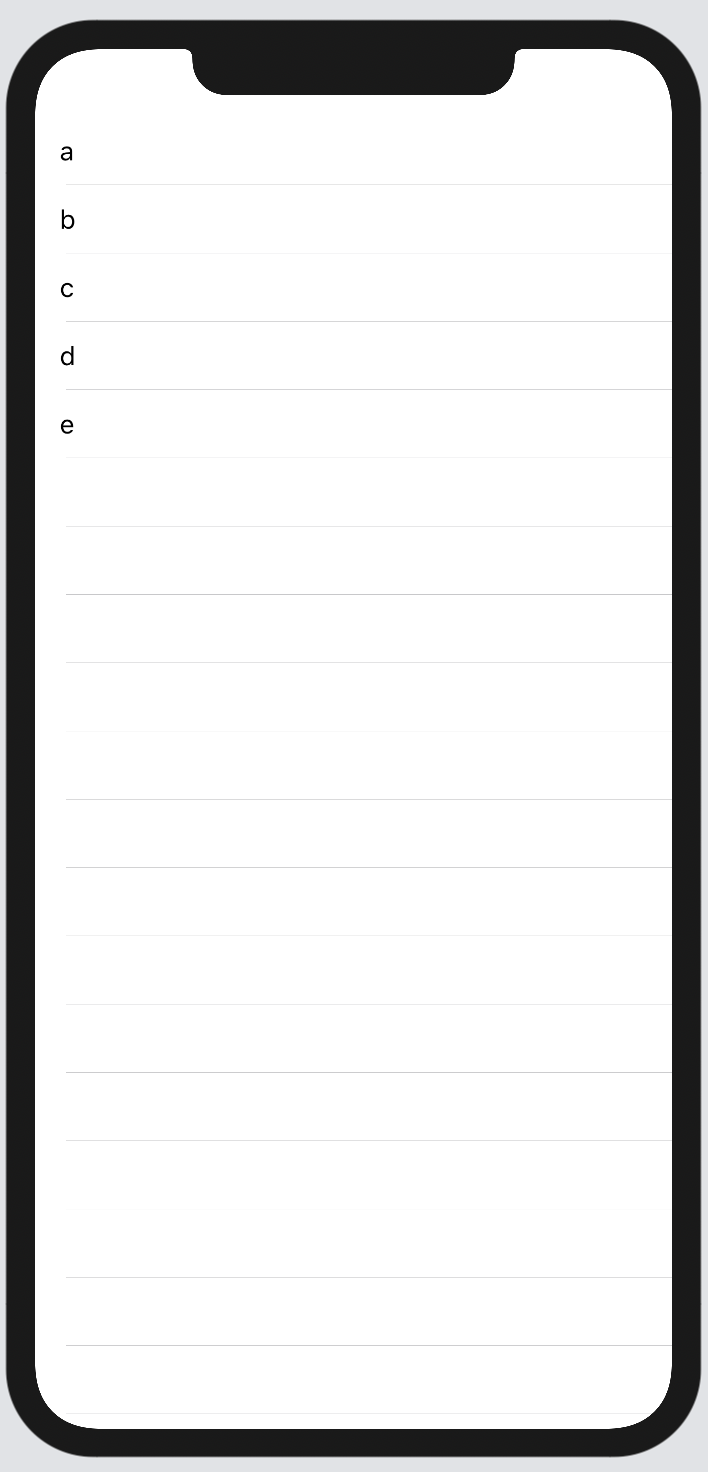
UIKitの UITableView のような表示をしたい場合、SwiftUIでは List を使用します
struct ContentView: View {
    var texts = ["a", "b", "c", "d", "e"]
    var body: some View {
        List(texts, id: \.self, rowContent: { t in
            Text(t)
        })
    }
}
クロージャの最後の関数を外に出す機能を使用して書かれる事が多いため、以下のように記述される事が多いです
struct ContentView: View {
    var texts = ["a", "b", "c", "d", "e"]
    var body: some View {
        List(texts, id: \.self) { t in
            Text(t)
        }
    }
}
idについて
ListはForEachと表示の仕方がほとんど同じため、idについての詳しくはForEachの記事を参照して下さい
idにはForEachと同じくループさせる値を一意に識別出来るプロパティを KeyPath を用いて指定します
そしてループさせる値に 追加、更新、削除 を行った場合に id を用いて再描画がされます。
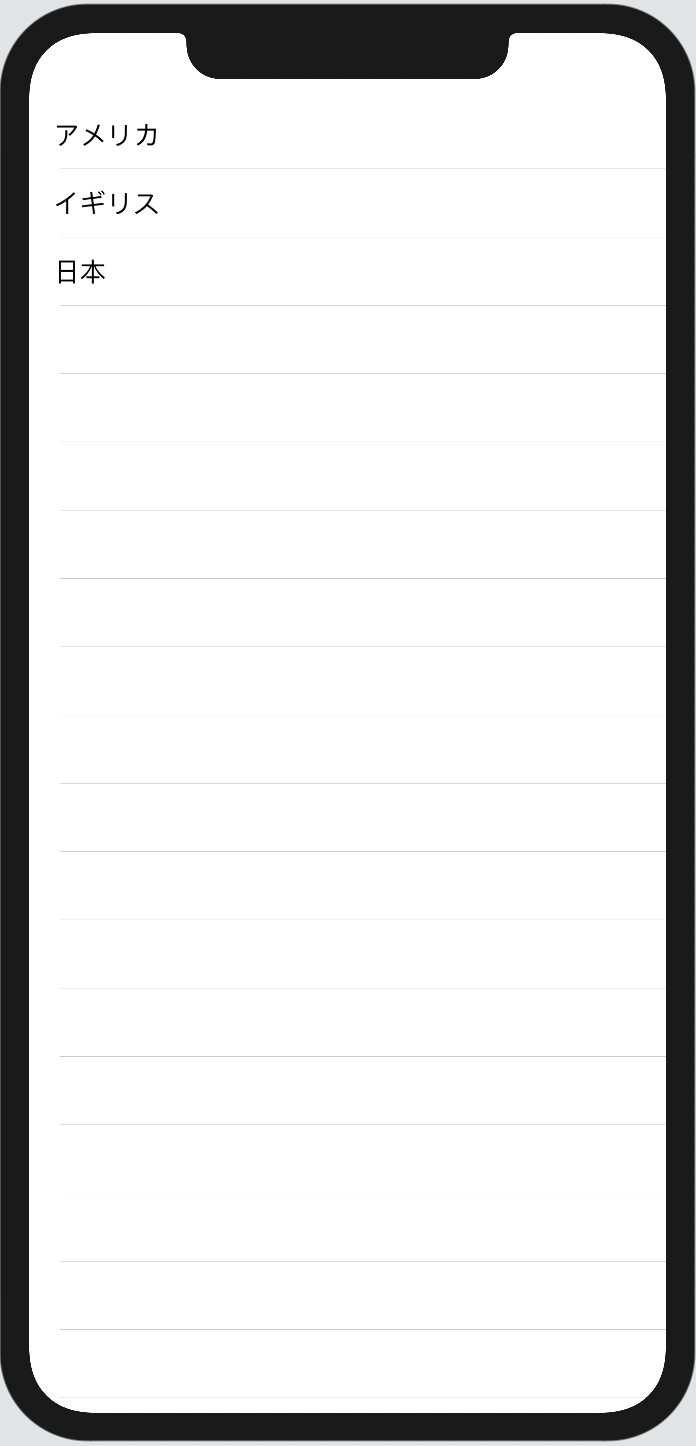
// Identifiable未使用
struct Country {
    var name: String
    var capital: String
}

struct ContentView: View {
    var countries = [
        Country(name: "アメリカ", capital: "ワシントン"),
        Country(name: "イギリス", capital: "ロンドン"),
        Country(name: "日本", capital: "東京")
    ]
    var body: some View {
        // idの指定が必須
        List(countries, id: \.name) { country in
            Text(country.name)
        }
    }
}
Identifiableを使用することでidの指定が不要になります
// Identifiableを使用
struct Country: Identifiable {
    var id = UUID()
    var name: String
    var capital: String
}

struct ContentView: View {
    var countries = [
        Country(name: "アメリカ", capital: "ワシントン"),
        Country(name: "イギリス", capital: "ロンドン"),
        Country(name: "日本", capital: "東京")
    ]
    var body: some View {
        // idの指定が不要
        List(countries) { country in
            Text(country.name)
        }
    }
}
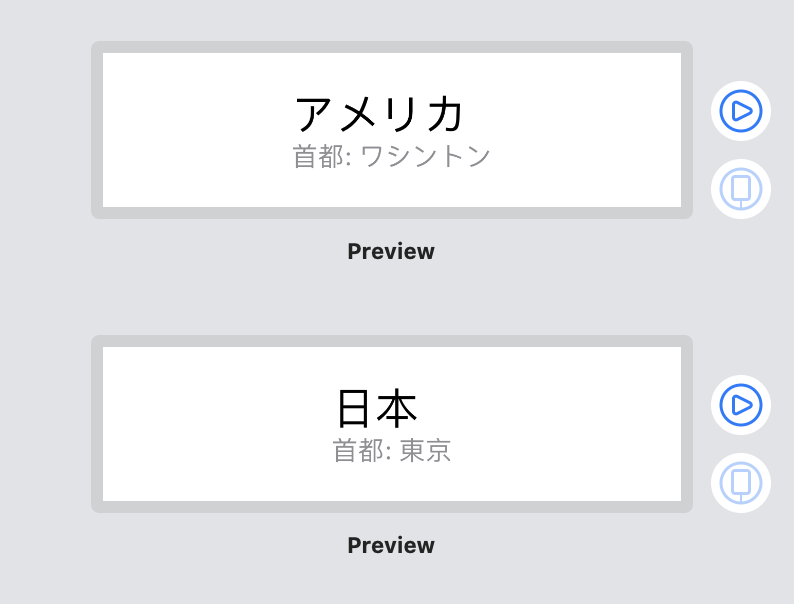
Row(カスタムセル)を使う
UIKitでは UITableViewCellを継承したカスタムセルを作っていましたが、SwiftUIでは普通にViewを作るのと同じ感覚で作成します
ここでは CountryRow をセル用のViewとして作成します
Country.swift
import Foundation

struct Country: Identifiable {
    var id = UUID()
    var name: String
    var capital: String
}
CountryRow.swift
import SwiftUI

struct CountryRow: View {
    var country: Country

    var body: some View {
        VStack(alignment: .leading) {
            Text(country.name)
                .font(.title)
            Text("首都: \(country.capital)")
                .foregroundColor(.gray)
        }
        .padding()
    }
}

struct CountryRow_Previews: PreviewProvider {
    static var previews: some View {
        CountryRow(country: Country(name: "日本", capital: "東京"))
    }
}

ポイントは
- 5行目の
var country: Countryというように外側から値を渡せるようにする CountryRow_Previewsでも引数でCountryを渡す
tips:
プレビューはGroupやForEachを使用する事で複数の値の表示の確認、複数の端末で確認をする事が出来ます。
static var previews: some View {
    Group {
        CountryRow(country: Country(name: "アメリカ", capital: "ワシントン"))
            .previewLayout(.fixed(width: 375, height: 100))
        CountryRow(country: Country(name: "日本", capital: "東京"))
            .previewLayout(.fixed(width: 375, height: 100))
    }
}
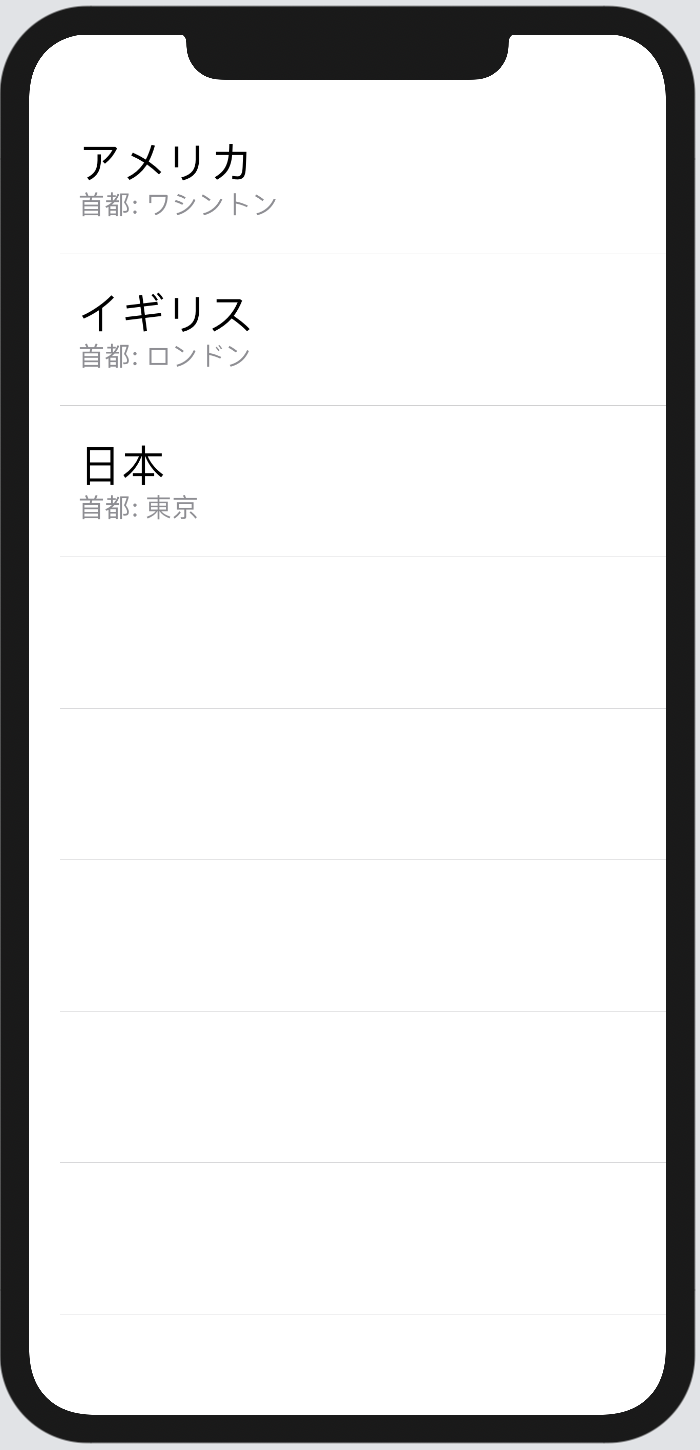
一覧表示するContentViewでは List 内で CountryRow を呼び出します。
// ContentView.swift
import SwiftUI

struct ContentView: View {
    var countries = [
        Country(name: "アメリカ", capital: "ワシントン"),
        Country(name: "イギリス", capital: "ロンドン"),
        Country(name: "日本", capital: "東京")
    ]
    var body: some View {
        List(countries) { country in
            CountryRow(country: country)
        }
    }
}

struct ContentView_Previews: PreviewProvider {
    static var previews: some View {
        ContentView()
    }
}
セルをタップして遷移する
遷移先として CountryDetail を用意します。
遷移元で選択した国名を表示するだけのシンプルなViewです
CountryDetail.swift
struct CountryDetail: View {
    var country: Country
    var body: some View {
        Text(country.name)
    }
}

struct CountryDetail_Previews: PreviewProvider {
    static var previews: some View {
        CountryDetail(country: Country(name: "日本", capital: "東京"))
    }
}
先程の遷移元となるContentViewを変更します。
変更内容は2点
ListをNavigationViewで囲むCountryRowをNavigationLinkで囲む
struct ContentView: View {
    var countries = [
        Country(name: "アメリカ", capital: "ワシントン"),
        Country(name: "イギリス", capital: "ロンドン"),
        Country(name: "日本", capital: "東京")
    ]
    var body: some View {
        NavigationView {
            List(countries) { country in
                NavigationLink(destination: CountryDetail(country: country)) {
                    CountryRow(country: country)
                }
            }
        }
    }
}